
Getting medical billing software implementation right isn't just a technical milestone—it's what separates a revenue cycle that runs cleanly from one that bleeds claim denials, data errors, and staff frustration. A rushed or unstructured rollout can disrupt cash flow and set your team back months.
The 10-phase approach outlined here gives you a clear path through every stage, from initial workflow assessment to post-go-live optimization. Each phase is designed to surface problems before they become costly—and keep your team aligned along the way.
How I Break Down Medical Billing Software Implementation
Here’s how I tackle each phase of a medical billing software rollout:
1. Planning and Needs Assessment
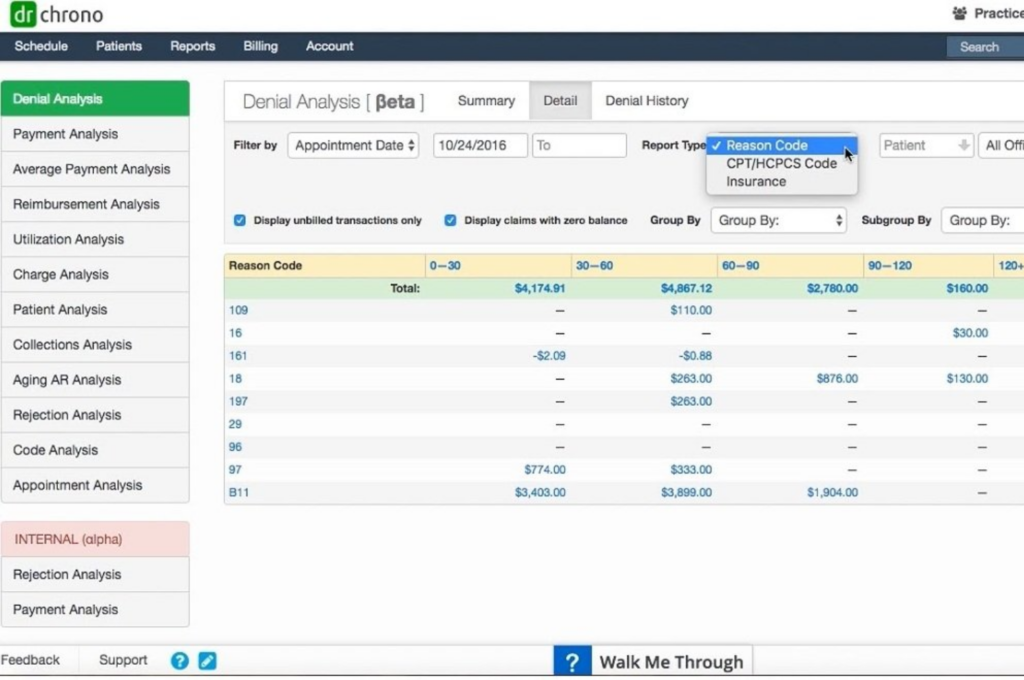
Before doing anything else, I start by mapping out what the new system needs to accomplish for our specific billing workflows. I pull in the billing team, clinicians, and IT from day one so nothing gets overlooked—especially the quirks in our existing process that software vendors might not catch right away.
I always document what our must-haves and nice-to-haves look like, as well as any existing pain points that we really need to fix. I’ve found it’s easy for teams to jump ahead to software features and skip over the less obvious needs, like reporting medical billing software requirements or integrations with EHR. Reviewing recent claim denials or recurring errors gives me real data to drive these conversations, so the planning is rooted in what the system actually has to solve. If there’s one place to slow down and get everyone on the same page, it’s right here.
When I’m planning with teams, these simple rules help us cover our bases early:
- Loop in stakeholders early: Get billing, providers, and IT in the room before any commitments are made.
- Map current pain points: List real issues from recent claims cycles, not just wish-list items.
- Prioritize must-haves: Separate critical requirements—like payer-specific rules—from nice-to-haves to avoid scope creep.
- Don’t overlook integrations: Check what needs to connect, including EHR and scheduling systems.
- Document everything: Leave a clear record of decisions so you avoid confusion mid-project.
2. Stakeholder Alignment and Change Management
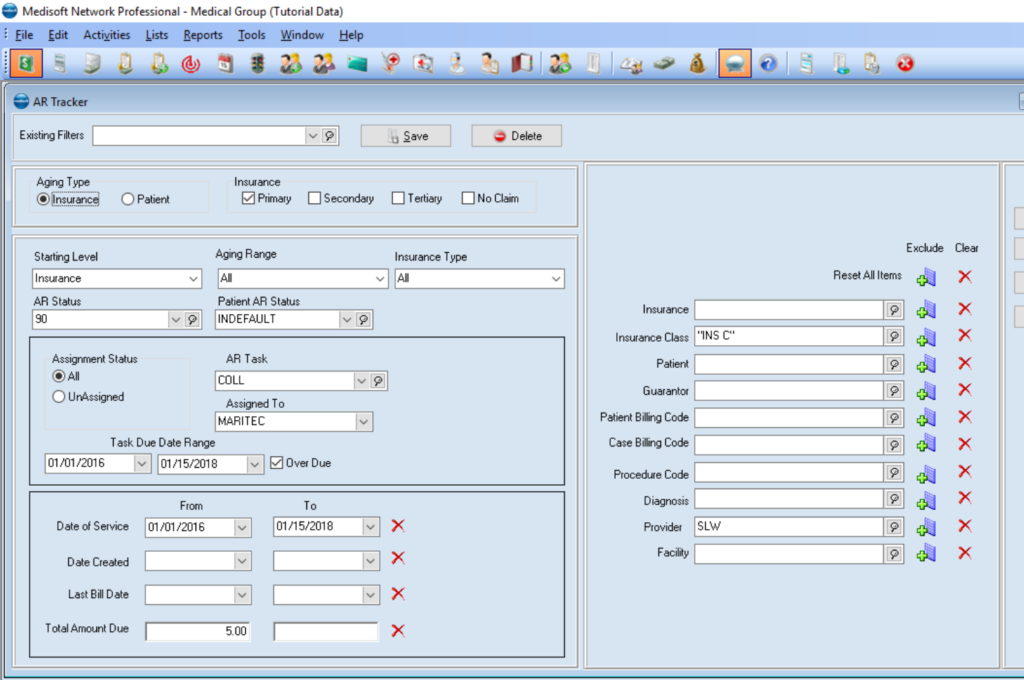
I’ve learned that announcing a new tool isn’t enough. Understanding how to choose practice management software also means involving billing staff, providers, and managers early in the decision and rollout process. I set up regular touchpoints where stakeholders can ask questions, raise concerns, and provide feedback before resistance begins slowing down the implementation.
I also make it a point to address how the software will change daily routines, not just major workflows. For example, if a new claim status dashboard means coders need to update records differently, I highlight that up front and ask for feedback. In my experience, getting buy-in is a lot easier when people see leaders and champions using the software—and when they know training and support are in place before go-live.
Use this table to see what approaches have helped me get stakeholders on board and avoid slowdowns:
| Approach | Why It Works | Example |
|---|---|---|
| ApproachIdentify champions | Why It WorksInspires buy-in, spreads enthusiasm | ExampleTap a lead biller who’s respected on the team |
| ApproachHold Q&A sessions | Why It WorksSurfaces concerns before they grow | ExampleLunch-and-learns with clinical and billing staff |
| ApproachShare early wins | Why It WorksBuilds excitement, keeps momentum | ExampleHighlight a faster clean claim in real numbers |
| ApproachAddress workflow impacts | Why It WorksReduces fear, sets honest expectations | ExampleShow before/after of claim status task |

3. System Configuration and Customization
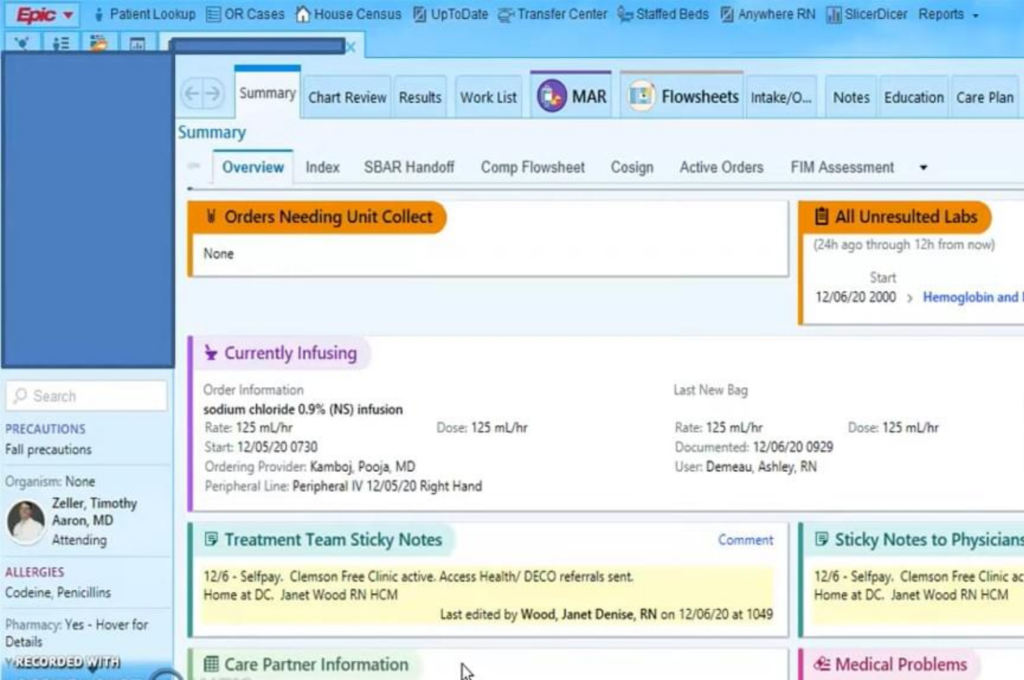
At this stage, I work closely with our vendor and IT team to set up system rules, user permissions, payer lists, and workflows to match how we actually do billing—not just the vendor’s default settings. I always include billers or coders who know the real gaps in our process, since they’ll spot issues that can be missed during setup.
There’s always pressure to use out-of-the-box options just to speed things along, but learning how to use medical billing software effectively often requires configuring the system around your team’s actual coding and claims workflows. Skimping on custom fields or relying on default system logic can create problems later. I make sure to test insurance rules, adjustment codes, and claim edits with real sample claims so we can identify mismatches before go-live. Careful configuration at this stage reduces troubleshooting and support calls down the line.
When I’m fine-tuning a new billing system, I follow this sequence to avoid backtracking and missed details:
- Clarify user roles: Confirm access levels for billers, coders, and managers before adding anyone to the system.
- Test payer setup: Run sample claims for each major payer and verify edits are applied as expected.
- Validate custom fields: Check all reporting and workflow fields against your real data and form requirements.
- Schedule a review: Walk end users through workflows and capture feedback before finalizing.
4. EHR and Practice Management Integration
This phase is where I work with both our IT team and outside vendors to connect the new billing software with our EHR and practice management platform. I make sure clinical documentation, charge capture, and scheduling data flow accurately; even minor gaps or mismatched fields here can lead to billing delays or missed charges.
I always push for real-world testing with actual patient records before signing off. It’s tempting to trust interface maps and demo data, but I’ve seen live data surface issues that never came up in theory. I also pull in someone who actually does charge entry or follow-up, since they can usually spot workflow snags or info that doesn’t sync right away. Getting these systems speaking the same language upfront keeps both billing and patient care running smoothly.
These reminders help me dodge some of the biggest headaches during integration:
- Use real patient data: Test with anonymized live records—not just vendor demo data.
- Double-check field mapping: Confirm every data field (like insurance type, provider ID, and CPT codes) is mapped and flowing to the right spot.
- Schedule interface downtime: Avoid data loss by timing integration updates outside normal billing hours.
- Get end users involved: Have a biller run through a real workflow and flag mismatches or missing data quickly.
5. Data Migration From Legacy Systems
Moving old billing data into a new system is almost always more complicated than anyone expects. Guidance on how to use EMR effectively should include a clear migration plan covering which billing and patient records need to move, what can be archived, and how each data type should be formatted before the transfer begins. I involve IT, billing leaders, and compliance staff in these decisions and watch for custom fields, scanned forms, and paper attachments that may not fit the new system’s structure.
I always insist on a test migration first, using a controlled set of real data to check for missing, duplicated, or scrambled records. I’ve seen systems go live with missing patient balances just because migration skipped a single step. Double-checking the mapping and validating results with billing staff can save weeks of cleanup. Keeping a clear communication channel open between vendor support and internal IT makes the whole phase smoother.
Use this list to minimize headaches and avoid common problems while migrating your billing data:
- Clean your data first: Remove old, duplicate, and incomplete records before exporting anything.
- Map fields with end users: Have billers review sample mappings to catch issues that IT or vendors might miss.
- Test migration with real cases: Move a small batch and confirm balances, claim history, and attachments appear correctly in the new system.
- Document exceptions: Record anything that can’t be migrated so staff know what to look for later.
6. Staff Training and Education
Getting every team member up to speed is crucial before your new billing system goes live. I always design training sessions that mirror daily workflows, not just abstract features, so people learn how their everyday tasks will look in the new system. Alongside structured classes, I encourage open floor time where staff can try out tasks and ask “what if” questions on real scenarios.
I nominate a few super users—typically team members who pick up new tools quickly—and make sure they receive extra hands-on practice. These people end up being the go-to for questions once you flip the switch. I keep training materials clear, digital, and easily accessible so nobody’s scrambling for answers after rollout. Follow-up check-ins a week or two post-launch catch lingering questions or issues that pop up once the real work begins.
Keep these best practices in mind to help your staff make the most of new billing software training:
- Train with real tasks: Use actual patient scenarios and real workflows in training sessions.
- Keep materials simple: Provide digital reference guides with screenshots, not lengthy manuals.
- Set up super users: Identify a few “go-to” team members for on-the-fly questions after go-live.
- Allow hands-on time: Give staff the chance to practice in the system and test “what if” questions.
- Schedule follow-ups: Plan a Q&A session a week or two after launch to address new questions.
7. Testing and Quality Assurance
I always treat testing as its own rollout—not just a box to check before go-live. I work with billers, coders, and even front office staff to run every major workflow using sample and real cases when possible. We look at everything: claim scrubbing, payer edits, denial management, and even the small stuff like patient statements and reports. If something breaks here, it means we can fix it before we impact cash flow or frustrate patients.
As with EHR implementation, I’ve found that medical billing software testing works best when every issue is documented and tracked through resolution. I create a punch list based on problems discovered during testing and ask end users to record confusing controls, mismatched codes, and missing reports that technical staff may overlook. I only advise leadership to move ahead with the launch once everyone involved in testing has reviewed the fixes and signed off on their workflows.
Use this step-by-step approach to make sure your testing actually prepares you for real-world billing:
- Assemble a testing team: Bring together billers, coders, and office staff for varied workflows.
- Simulate full cycles: Run end-to-end scenarios, from charge entry to payment posting, using anonymized real data.
- Track every error: Log bugs, mismatches, or missing features on a punch list for resolution.
- Double-check reports: Confirm all scheduled, ad hoc, and custom reports generate accurate data.
- Get user sign-off: Have each tester confirm workflows make sense before approving the launch.
8. Compliance and Security Validation
Validating compliance and security is one of the most high-stakes steps in rolling out new billing software. I make it a point to bring in IT, compliance, and privacy officers early so there are no surprises. For any system handling protected health information, I check that role-based access, audit logs, and encryption features work as promised—not just in policy, but in real daily workflows. Even small missteps like missed user deactivation or generic logins can snowball into major risks.
I always run through mock regulatory checks, such as verifying a HIPAA audit trail or testing what happens if someone tries to access restricted information. I document every outcome and make sure updates are made before we go live. Keeping everyone—from IT to billers—aware of compliance basics and data security practices helps reduce risk across the board. This phase always ends with every checkbox cleared and proof of compliance saved for future audits.
Check this table to see the most important do’s and don’ts for compliance and security validation:
| Do | Don’t |
|---|---|
| DoReview audit logs with compliance | Don’tAssume built-in reports are sufficient |
| DoTest user access for every role | Don’tShare generic logins across staff |
| DoDocument evidence for every check | Don’tSkip validation due to time pressure |
| DoConfirm encryption settings | Don’tOverlook workstation-level vulnerabilities |
| DoInvolve privacy and IT teams | Don’tPut off training until after go-live |
9. Go-Live and Phased Rollout
The go-live moment is about more than flipping a switch; it’s coordinating everyone and being ready for hiccups. I make sure the help desk is fully staffed and super users clear their schedules so they can walk the floor and answer questions in real time. Communication becomes top priority, with daily check-ins to flag issues and keep everyone in the loop about what’s working—and what’s not.
Phased rollouts can lower stress and help catch unexpected issues before they impact the entire practice. Starting with a single department or a limited group lets you spot gaps in training or data flow. Once you’ve worked out the first round of kinks, you can expand to more users or locations, keeping lessons learned front and center. Having a playbook for reverting to the old system, just in case, brings everyone peace of mind through those first critical days.
Follow these steps to help your team manage a successful go-live and phased rollout:
- Start small: Roll out the system in one department before expanding.
- Assign super users: Make sure they are available for on-the-spot support.
- Hold daily huddles: Use quick check-ins to resolve issues as they come up.
- Have a rollback plan: Be ready to switch back if serious issues surface.
- Collect feedback: Adjust processes and training in real time based on user input.
10. Post-Implementation Monitoring and Optimization
Once the new billing system is up and running, I keep a close eye on key metrics like claim acceptance rates, payment posting times, and denial trends. I schedule regular check-ins with billing and front desk staff so we can spot bottlenecks early. It’s helpful to compare reports from the new system against the old one for the first month to catch any unexpected drops or gaps.
I encourage teams to flag anything that feels clunky or is causing extra work. Often, small workflow tweaks can make a big difference in day-to-day operations. I also revisit any customizations or new features after a few weeks—sometimes what seemed useful during setup doesn’t hold up in practice, and it’s better to adjust quickly. Keeping a feedback loop open helps your system actually support the way your team works, not slow it down.
Watch for these post-implementation pitfalls to keep your billing process running smoothly:
- Ignoring staff feedback: Early complaints or questions usually point to real process issues.
- Skipping data reviews: Failing to compare old and new reports can hide drops in revenue or productivity.
- Delaying system tweaks: Waiting too long to adjust workflows or settings locks your team into inefficient habits.
- Relying on memory: Document every change and solution so fixes are repeatable and lessons don’t get lost.
- Letting momentum fade: Schedule optimization reviews regularly, not just right after go-live.
More Articles
Top Medical Billing Software to Consider
Here's my shortlist of the best medical billing software solutions:
Best Practices for a Successful Medical Billing Software Implementation
Getting a new billing system up and running can reveal blind spots at every turn. Use this table to spot the most common mistakes and make sure you know what to do differently:
| Don’ts | Instead, Do: |
|---|---|
| Don’tsSkip end-user training because of time pressure | Instead, Do:Schedule hands-on training before and after go-live |
| Don’tsAssume your vendor’s default settings will work | Instead, Do:Customize workflows and settings for your practice |
| Don’tsRely only on IT to catch configuration problems | Instead, Do:Involve billing, coding, and admin staff in testing |
| Don’tsLaunch all locations at once without a backup plan | Instead, Do:Phase your rollout and have a clear rollback strategy |
| Don’tsIgnore early staff complaints or confusion | Instead, Do:Set up a feedback channel and respond quickly |
| Don’tsFail to validate payer-specific requirements | Instead, Do:Double-check claims formats and payer rules in your setup |
| Don’tsLeave report configurations until after launch | Instead, Do:Build and review necessary reports before going live |
Ready to Find the Right Medical Billing Software for Your Practice?
A smooth implementation starts with choosing the right platform, and you can browse in-depth reviews and comparisons of medical billing software to find the solution that fits your practice's workflows, payer mix, and team size.