
EMR software implementation is one of the most consequential projects a healthcare organization can undertake—get it right, and you unlock better care coordination, documentation accuracy, and operational efficiency. Get it wrong, and you're looking at costly delays, staff frustration, and patient safety risks.
A structured, phased approach takes the guesswork out of learning how to use EMR software effectively. It breaks the process into manageable stages, so your team knows what to do, when to do it, and how to avoid the configuration errors and training gaps that can disrupt implementation.
How I Break Down the 10 Phases of EMR Implementation
Here’s how I approach each phase of EMR software implementation, based on what I’ve seen work best:
1. Project Planning and Stakeholder Alignment
At the start of any EMR implementation, I always gather a cross-functional team—clinicians, administrators, IT, and anyone who’ll rely on the new system day to day. You need people who know the clinical workflows as well as those who’ll manage the backend, so everyone’s priorities, constraints, and questions get heard up front.
I’ve learned it’s important to set clear project goals and spell out each person’s role early. Map out timelines, budget ranges, and potential workflow changes, then check for any regulatory or compliance requirements that might impact the rollout.
Get buy-in from decision makers and frontline users alike—I’ve seen projects stall when you skip a single stakeholder or assume everyone’s on board. Take the time to communicate the “why” behind the project to help ease nerves and ease the transition that’s coming.
Watch for these early missteps during project planning and stakeholder alignment—addressing them early saves time and trouble later on:
- Unclear Responsibilities: Assign and document roles for every stakeholder, even for tasks that seem obvious.
- Leadership Gap: Involve at least one executive sponsor who can clear roadblocks and keep the project a priority.
- Workflow Blind Spots: Ask end users to map their current processes so you spot any workarounds or bottlenecks before you start building.
- Poor Communication: Set up regular project updates to keep stakeholders in the loop and address concerns as they come up.
2. Infrastructure and Environment Preparation
I always start this phase by working closely with IT to review network infrastructure, server capacity, device inventory, and physical space in each clinic and office. Before any EMR software can be installed, every workstation, printer, scanner, and even exam room device needs to be compatible and up to spec.
You’ll want to test network speed and security, too, since even a strong EMR solution can crawl if your network isn’t ready. In past projects, I’ve seen teams overlook wireless dead zones or skip installing extra backup power—those details come back to bite you quickly when you have downtime or coverage gaps.
Bring facilities, IT, and clinical operations together to walk through the site and flag any surprises before you move to deployment.
Use this quick checklist to make sure your environment is truly ready for EMR deployment:
- Double-check device compatibility: Confirm every workstation and peripheral matches EMR vendor specs.
- Test for dead zones: Walk every clinic and office area, checking Wi-Fi/cabling signal strength along the way.
- Plan for outages: Ask IT to test backup power and data failover plans before you go live.
- Inventory supplies: Stock up on extra cables, adapters, and network hardware in advance—you’ll likely need more than you think.

3. System Configuration and Customization
This is where your EMR software starts to take shape for your actual workflows. I always bring in clinical leads to review templates, order sets, and forms, making sure they match real documentation needs instead of relying on generic vendor defaults.
Set aside extra time to configure user roles and permissions—I've seen projects run into trouble when access is either too open or too restricted. Test the setup with frontline staff in a test environment so you can spot clunky layouts or missing data fields early. Pull in IT and a few super-users to fine-tune settings until documentation and inbox routing flows naturally for every department involved.
Review this table to see some do’s and don’ts I’ve learned for configuring and customizing EMR systems:
| Do | Don’t |
|---|---|
| DoInvolve clinicians in template design | Don’tAssume vendor defaults are sufficient |
| DoPilot workflows with a few departments | Don’tSkip or rush real-world testing |
| DoSet clear permission rules by role | Don’tGrant blanket access to all users |
4. Legacy Data Migration and Cleansing
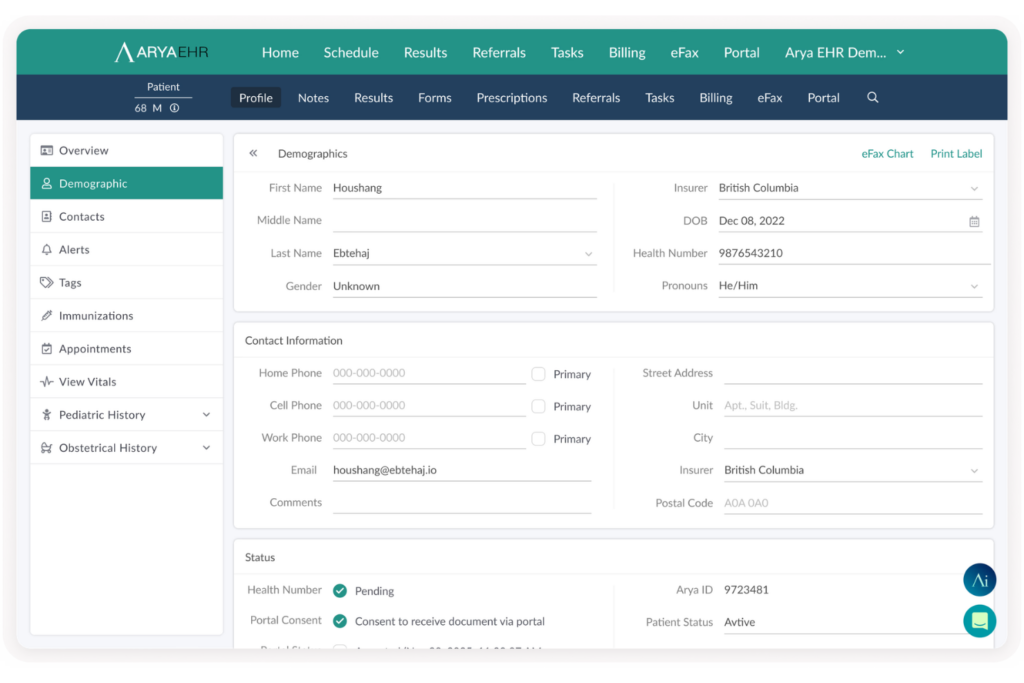
When I migrate old records into a new EMR, I always involve both clinical and IT experts to map out exactly what data needs to come over, from patient demographics to medication histories and scanned documents.
This isn’t just a data transfer—the information has to be vetted, cleaned, and formatted to fit the requirements of the new system.
In my experience, it pays to do a “dry run” migration with a small data sample, reviewing any gaps or conversion errors before pulling over everything. Make sure you involve clinicians in reviewing sample records for accuracy—problems like mismatched medication lists or missing allergies can become serious patient safety concerns if missed.
Don’t forget to plan for data validation and backups, so you can catch and fix any surprises before the new system goes live.
Follow these steps to make sure your legacy data migration runs as smoothly as possible:
- Audit your old records: Identify duplicates, outdated information, and records that don’t need to be moved.
- Map data fields carefully: Line up old and new fields to prevent mislabeling or loss.
- Run a test migration: Move a small dataset first, then review for errors with clinical input.
- Validate and document: Double-check results, log issues, and save backup copies of your legacy data.
5. Third-Party System Integration
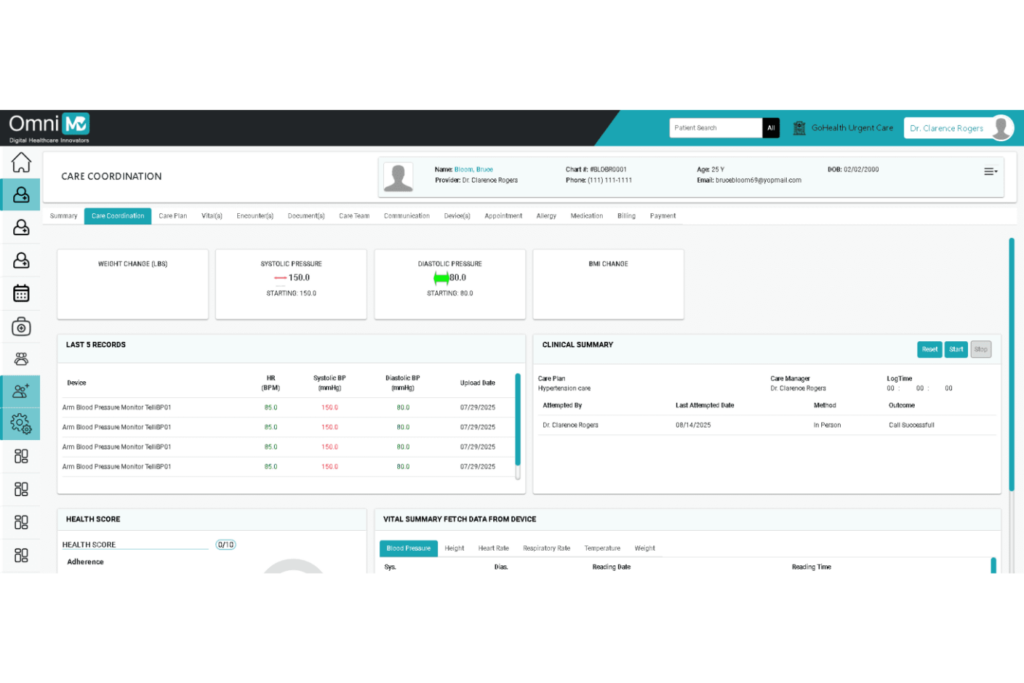
During this phase, I always sit down with both clinical and IT teams to identify which lab systems, imaging software, practice management platforms, and billing solutions need to sync with the new EMR.
It's not just about file transfers—real integration means seamless communication so results and updates flow between systems automatically.
You’ll want to test each integration pathway with real data and everyday workflows, not just a technical checklist. Too many projects stall here when vendors point fingers over interface issues, so I always document who’s responsible for fixes and schedule joint troubleshooting sessions ahead of time.
Make sure support contacts for each vendor are readily available so you avoid downtime or lost messages once you’re live.
Keep these integration dos and don’ts in mind to save time and frustration:
- Do: Connect end users and IT early to spot real-world workflow gaps.
- Don’t: Rely on vendors to troubleshoot workflow-specific issues without your own team’s involvement.
- Do: Test results delivery, data entry, and notifications using real patient scenarios.
- Don’t: Assume system updates or upgrades won’t affect integration settings or data flow.
6. Security, Compliance, and Access Control Setup
I collaborate with IT, compliance, and department leads to build out access controls, set password policies, and enforce audit logging so only the right people can access patient information.
It’s important to use role-based permissions and make sure your policies line up with local privacy laws and accreditation requirements. Don't leave settings at the vendor default—tighten security to fit your organization.
I’ve seen issues when groups overlook secondary devices or forget to remove access for people who’ve changed roles. Run a permissions audit and actually test logins across staff groups before launch.
It’s worth reviewing vendor logs and system reports regularly to spot risky access patterns or login attempts, so you can catch problems early instead of after an incident.
Add these security and compliance steps to your checklist for a smoother setup:
- Assign roles carefully: Limit system access strictly to current job roles.
- Test access for accuracy: Ask a few staff to log in and confirm they see only what they should.
- Update policies: Review compliance documents so they fit your EMR’s actual setup.
- Schedule regular audits: Set calendar reminders to revisit access rights and system logs every quarter.
7. User Acceptance Testing and Quality Assurance
I always bring clinicians, admin staff, and IT together for hands-on user testing before sign-off—real users will spot missing fields or strange workflows that project teams might overlook.
During this phase, test every workflow end-to-end: charting a visit, ordering labs, reviewing results, and handling prescriptions. You want to see if the system matches daily routines, not just if it technically works.
Document every reported issue, then prioritize fixes based on severity and impact. Don’t just rely on IT to troubleshoot—get feedback from everyone actually using the system during “day in the life” scenarios.
Schedule multiple rounds if needed, and follow up with spot checks to confirm bug fixes hit the mark before you move forward with your launch.
Use this table to compare the strengths and pitfalls of different user testing approaches:
| Approach | When to Use | Watch For |
|---|---|---|
| ApproachScripted scenario tests | When to UseEarly UAT stages | Watch ForMissed real-world variations |
| Approach“Day in the life” trials | When to UsePre-launch review | Watch ForWorkarounds hiding flaws |
| ApproachFocused bug hunts | When to UseAfter major fixes | Watch ForMissed workflow integration |
8. Staff Training and Change Management
I think your training plan needs more than a few classroom sessions or recorded videos—make sure superusers in each department are ready to answer live questions and run hands-on sessions tailored to how your staff actually uses the EMR.
Training isn’t just about clicking buttons; let users practice documenting real cases, entering orders, and navigating patient charts under simulated conditions.
It helps to map out a staggered schedule, so smaller groups can get deeper support, and nobody is rushed through. Stay available for at-the-elbow support after go-live, since real frustrations tend to bubble up when the system is live.
Keep an eye out for low attendance or users who rush through modules—offer extra help to anyone who hesitates or falls behind so gaps don’t turn into workflow issues after launch.
Look for these signals to identify and support staff who may need extra help adapting to your new EMR:
- Incomplete training modules: Users who haven’t finished all required sessions.
- Frequent clarification requests: Staff repeatedly reaching out with basic “how do I” questions.
- Missed practice scenarios: Anyone skipping or rushing through simulated case exercises.
- Low confidence during downtime: Staff avoiding the system when live help isn’t available.
9. Go-Live Execution and Cutover
When it’s go-live day, I always bring in a cross-functional team—IT, clinical leads, superusers, and vendor reps—to provide on-the-ground support.
Schedule the cutover during the lowest patient volume and communicate clear timeframes to every department. Make sure your backup plan is ready just in case you need to roll back to paper or your old system for any reason.
Expect questions and slowdowns, so station support staff in clinics and at nursing stations for the first few days. Document every snag or workaround your team uses, and prioritize fixes fast before they become new habits.
Focus on open communication and regular check-ins, so nobody’s stuck or left guessing how to move forward if issues show up during real patient care.
Avoid common pitfalls with this list of dos and don’ts for your EMR go-live:
- Do: Test essential workflows (labs, orders, billing) right after go-live to spot hidden blockers.
- Don’t: Allow staff to use undocumented workarounds—flag every deviation for follow-up.
- Do: Hold short, regular check-ins at the end of each shift to surface issues quickly.
- Don’t: Assume quiet departments aren’t experiencing trouble—they might just be unsure how to report problems.
10. Post-Implementation Monitoring and Optimization
After go-live, I always set up regular check-ins with clinical, admin, and IT leaders to review real-world use data and gather feedback.
Use system usage reports, error logs, and staff surveys to spot slowdowns, frequent support requests, or features that aren’t working as intended. You might spot missed opportunities, like underused templates or bottlenecks in order workflows.
Bring together a small optimization team to evaluate suggestions and roll out tweaks—sometimes just adjusting a screen layout or adding a favorite order set can have a big impact. Make sure changes are communicated clearly, and new training is offered when you update workflows.
Keep the review process ongoing, since needs will shift over time as staff gets more comfortable and new system features roll out.
Keep these practical tips in mind while fine-tuning your EMR after go-live:
- Prioritize quick wins: Tackle minor layout tweaks or add shortcuts based on user feedback.
- Track unresolved issues: Revisit logs and support tickets in monthly review meetings.
- Reward problem-spotters: Give extra recognition to staff who surface hidden workflow gaps.
- Repeat training as needed: Offer refreshers for new features or updated processes.
More Articles
Top EMR Software to Consider
Here's my shortlist of the best EMR software solutions:
Best Practices for a Successful EMR Software Implementation
A smooth EMR implementation requires more than technical planning. Success also depends on how well your team adopts new workflows, manages data, and responds to issues during the rollout.
Following proven practices allows you to gain key EMR benefits, such as faster documentation, more accurate patient records, improved care coordination, and greater administrative efficiency. Use this table to identify common mistakes and see what to do instead:
| Don’ts | Instead, Do: |
|---|---|
| Don’tsAssume all users have the same training needs | Instead, Do:Tailor training for each role and workflow |
| Don’tsRely on email for sharing go-live updates | Instead, Do:Communicate updates in person and through department meetings |
| Don’tsOverlook superusers’ feedback after launch | Instead, Do:Set up regular check-ins with superusers throughout roll-out |
| Don’tsIgnore minor user workarounds | Instead, Do:Document and review workarounds during optimization rounds |
| Don’tsRush data validation before migration | Instead, Do:Validate and spot-check imported data in the live environment |
| Don’tsTreat optimization as a one-time effort | Instead, Do:Schedule ongoing reviews and allow for continuous improvement |
Your EMR Implementation Is Just the Start
Once your implementation wraps up, the real work is using your EMR system day to day in ways that drive efficiency, protect patient data, and keep your team running without friction—and that guide walks you through exactly how to do it.